Making colorful sand art bottles is an easy craft activity that kids of all ages will enjoy making. These decorative sand art bottles are a great way to preserve a bit of beach sand to create lasting memories from your vacation. If you don’t have beach sand, you can buy craft sand at any craft store and make these sand art bottles to give away as gifts. If you don’t have any access to craft sand, you can use table salt instead of sand.
Click here to see a photo of a sample of finished sand art bottles so you can get an idea of what they look like. You can use any kind of bottle or jar you want to make your own designs. You can buy jars or bottles at a craft store or you can use jars and bottles that you have at home (great way to recycle). If you use little jars like baby food jars, you can make up a bunch of these sand art bottles and give them away as party favors to groups of kids.
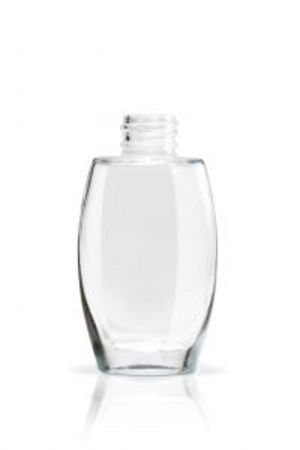
To make your sand art bottles, you will need clean sand (or table salt), clear glass or plastic bottles (any size or shape) and colored chalk. You will also need a few other craft supplies such as newspaper, wax paper, something to poke the sand like a pencil or stick, and if your jar or bottle does not have a cap you will also need white glue.
Start by protecting your work space by spreading out some newspaper. Lay a piece of wax paper on top of the newspaper and sprinkle some sand on the wax paper. Then roll a piece of colored chalk over the sand and keep rolling it until all the sand changes to that color. Lift the wax paper and fold it a bit and pour the sand into a plastic bag. Then continue to make other batches of colored sand until you have all the colored sand you need.
After you have made all your colored sand, it’s time to fill your bottles! Pour your first color into the bottle then use a pencil or stick to poke the sand down in different places near the glass. This will make the sand uneven and will allow you to create a design with the sand. Pour your second layer of sand using a different color and poke the sand down on that layer too. Continue to make layers of sand art until the bottle is filled to the very top. Then put the cover on the bottle and you are done!
If you have a special bottle or jar you would like to you but you don’t have the cover, you can seal the bottle top with white glue. Just fill the bottle to within 1/2 inch of the top then pour a layer of white glue to cover the entire opening. Let the glue dry and your bottle will be sealed. You can also want to seal any bottle even if it has a cap. Then if the bottle gets opened, the sand will not spill out.
If you use beach sand for this project, you will want to sift it first to remove any bits and pieces of debris. You can also dry the sand by spreading it out onto a cookie sheet and warming it in the oven at 200 degrees for about 10 minutes. If the sand is not dry after 10 minutes, just turn the oven off and leave the sand in the oven overnight.