Wouldn’t you love to have a beautiful trellis beside your house? After you get back from the home improvement store, and you recuperate from looking at trellis prices, go to a dollar-theme store and purchase some twine or small-diameter roping. You’ll see that you can build a suitable trellis, one that will allow you to show off your gorgeous, climbing flowers, and you’ll make it for a fraction of what you would spend on a trellis at the store. Even though the trellis you build is not wooden, and not fancy, after the vines crawl up and around it, you’ll see that it’s quite an attractive arrangement.
The kind of twine or roping you use can vary somewhat. Thick twine that has no plastic overlay works perfectly but you can also use roping similar to something used for making a clothesline. It will take several feet – or yards – of the roping to make the ladder trellis, depending upon how tall and wide you want it. In addition to the roping purchase nails which have large heads. The nails can be anywhere from three to five inches long.
Decide where you want the rope ladder to be. You can attach it to the side of a building or the side of the house. Or, the rope ladder can be placed alongside a large tree. After deciding on the location draw two vertical lines. Use chalk or another implement to draw the lines so that you can plainly see them.
The two lines you draw will represent the sides of the ladder. Draw one line from near the ground to a point up the side of the building or tree. When drawing the second line it’s necessary to measure the width you want for the trellis. A good width is 17″ but you can adjust that measurement to make a wider or more narrow version.
After drawing the second line you’ll then begin installing the nails. Simply hammer them in so that the head is left sticking out an inch or so. Go down each line, mark a place where each nail will go, then begin hammering them into the building or tree. The nail marks should be about a foot apart. Mark a dot at the very top of each line, then another every 12″, until you get to the bottoms of the lines. Hammer one nail into each dot.
String the ladder like so: tie the end of the twine onto the top, left nail. Now stretch it taut, over to the right side, and wrap it once around the second nail from the top. Go across to the left side, stetching the cord, and wrapping it around the third nail from the top. Continue in this manner until you get to the bottom, left nail. Then, go over to the bottom, right nail, and wrap the twine. Now begin wrapping the twine around the empty nails, going from one side to the other, until you reach the top, left nail. Stretch the cord over to the top, right nail and you’re finished.
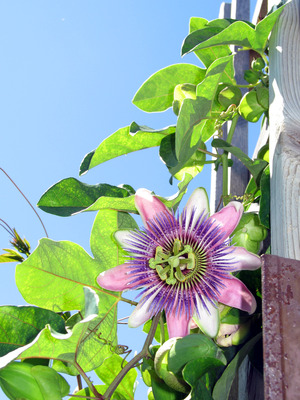
Plant or start the vine at the bottom of the twine trellis. The flowers will grow up and around the roping as they climb. With the nails sticking out somewhat, the plants can easily crawl around the rungs. When it’s covered up with flowers you’ll absolutely adore the new trellis!