You can make flash cards for any subject, take them anywhere, and use them any time. There is no better way to study. Anyone with PowerPoint and a printer can make flash cards using these simple steps.
1. Make a table
In a PowerPoint or Keynote document, click on the table icon to create a new table. The number of cells will be the number of flash cards you print per page. I always make flash cards with 16 on a page; I find that the cards are big enough to read easily and fit plenty of information inside, but small enough that I’m not wasting paper by printing extra sheets. Smaller flash cards also fit into pockets better, which is immensely helpful if you’re studying on the go. For kids, you may want to make flash cards with six or ten per page to make them easier to handle.
Once you have determined your number of cells, stretch the table to fit the whole page. Copy and paste the grid into a separate document. One table will be your question side, and the other will be your answer side.
2. Fill in one question and one answer at a time
The hardest part of trying to make flash cards is getting the questions and answers to match up when you print them out. Always remember that the answer has to be on the opposite end of the page. If question one is in the top left corner of the page, answer one has to be in the top right corner. Question two goes in the second cell from the left, and answer two goes in the second cell from the right. Keeping this in mind when you make flash cards will spare you many aggravating printing errors.
I recommend going back and forth, filling in one question and then its corresponding answer. Filling in all the questions first makes it much easier to mess up the answer positions on the second page.
3. Print carefully
Print out one question sheet. Notice which column of cells came out first. If question one is on the top right when the sheet prints out, it should be in the bottom right when you place it back in the printer (note that the paper has been turned from what you saw on screen). It may take a few practice prints before you get the hang of it. Once you do, you can print out all the question sheets at once, then flip them over and print all the answer sheets, a useful trick when you want to make flash cards with multiple pages at a time.
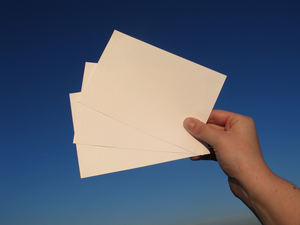
I always use heavyweight paper when I make flash cards, as they’re more durable and less prone to tearing.
4. Cut apart your flash cards
The lines from the table should still be there. Simple cut along them and you have a tidy pile of flash cards.
With these steps, you can make flash cards any time, and as many as you like. Now comes the hard part: actually studying them.


