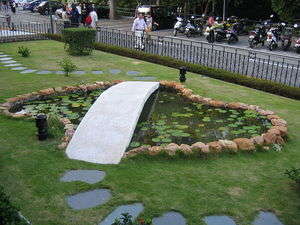
Stepping stones enhance the garden and keep feet mud free in wet weather. Making a garden path with stepping stones adds character to an otherwise dull landscape. Making personalized garden stepping stones preserves memories and highlights events. Stepping stones have many purposes and all of them are important. Here’s a guide to making and setting garden stepping stones.
Making garden stepping stones is fairly simple.
Some garden stepping stones are randomly shaped, while others use a form. Making garden stepping stones using embellished ready made pavers is a possible short cut. Garden stepping stones can be inlaid with colorful stones or marbles. Making leaf or other natural imprints is a creative possibility.
Making free form garden stepping stones:
Cut a two inch deep impression into the ground where each of the stones will lay. These are the “molds”. Pour wet cement mix into the molds. Embellish with small stones, shells or jewels. Let dry.
Making stones from ready made round pavers:
Simply glue embellishments to the pavers in a desired pattern and grout them in.
Stepping stones with leaf imprints start with a mold.
Coat the mold with vegetable oil spray. Lay leaves out in random patterns on the inside bottom of the garden stepping stone mold. Pour a one inch layer of wet cement mix over the leaves to hold them down, making sure to pour slowly, so as not to disturb the leaves. When this layer is dry, pour wet cement mix in to completely fill the mold. Let dry. Remove from mold. Rinse the stones with water while gently brushing away the leaves. This should leave a nice imprint on the garden stepping stones.
Making photo stepping stones is easier than it would seem.
Use two same size pieces of flat, thick glass. Making these with thin glass doesn’t work as people will be stepping on them. Cut the photo to the size of the glass. Attach the back of the photo to one of the glass pieces with clear drying glue. Coat the other piece of glass with glue. Stick it to the photo front. Think of this as making a photo sandwich, with the glass being the bread. Spread a thin layer of glue around all edges, making a waterproof seal. Let dry
Once the photo and glass are dry and securely adhered to each other it’s time to make the stepping stone. Simply place the glass, photo side down, in a garden stepping stones mold that has been sprayed with vegetable oil. Cover the encased photo with wet cement mix, making sure the mold is filled to the top. Let dry. Remove the stone from the mold. Clean the photo glass with window cleaner.
Tip:
When making garden stepping stones the cement mix may sometimes settle in the center. If this happens a little extra cement mix may have to be added after drying to even things out.