Believe it or not, notepads are very easy to make at home. This would make a great rainy day activity to do with your children. You can either make a notepad to use the blank side of used papers or create a personalized notepad printed on computer paper. Homemade notepads are not only fun to make they are a terrific gift idea. You can give them to neighbors as holiday gifts, with art supplies for a child’s birthday, or as a thank you gift for a thoughtful coworker. Best of all, they can be personalized to please any recipient.
All you need to make a homemade notepad is paper, something heavy, Elmer’s glue and a paintbrush. You can reuse paper with one blank side to make a scribble notepad for yourself or your children, or you can design a notepad on your computer and print on new paper.
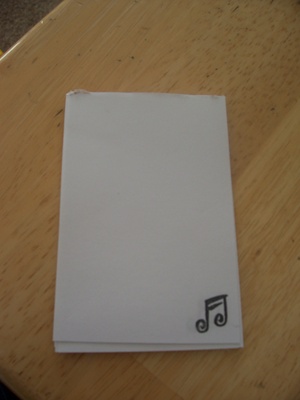
To create a personalized notepad, first create a design on your computer. For example, use clip art to make a decorative icon in the corner such as a Christmas tree for a holiday gift, or a paper clip for someone in your office. Or you could type “From the House/Desk of (Recipient’s Name)” at the top in an appropriate font. Another idea is to create a beautiful monogram for the top of the notepad. To make a small notepad, repeat the design on each fourth of the page – after it is printed you will cut the paper into fourths. For an even smaller notebook, create two rows of four across the horizontal page.
While you are designing pages, you could also include a top sheet to the notepad saying who the gift is for and who it is from, or write a note of thanks and include it right on the notepad! You could always just write on the top sheet of the notepad, but as long as you are making the notepad from scratch, why not have a little fun?
Print as many copies of your notepad paper as you need.
Cut up your paper as desired. Pack your stack of paper firmly. You can make the notepad in one giant stack and cut through the adhesive with a knife to separate into individual notepads. It is easier to apply the glue to one large stack than several small stacks. If desired, insert a piece of cardstock or chipboard cut to size to serve as the back of each notepad.
Make sure the papers are lined up well at the top. If you are reusing scrap paper or if your cutting isn’t even, don’t worry too much about it. As long as the top is lined up well, the pad will stay together.
Press the paper underneath a heavy item such as a case of canned food or a stack of books. Let the weight go as near to the top edge of the notepad as possible.
Now apply a layer of glue to the top edge of your notepad. Be sure to get all the way to the edges.
Once the glue is dry apply another coat. When the second coat is dry, separate your stack into individual notepads. That’s it!