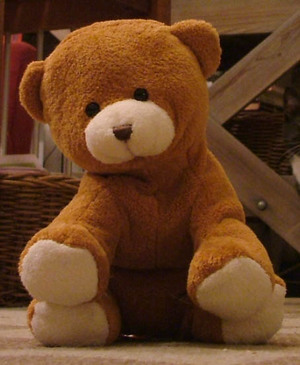
Stuffed animals make for great presents, but imagine if you made your own stuffed animal to give as a present! After doing some research, I have found that making your own stuffed animal is fairly simple and can be much less expensive than buying a stuffed animal. This is especially true if you make a giant stuffed animal, such as the stuffed animals you may find as grand prizes in carnivals. But other than the fact that this is a stuffed animal you made yourself, what makes your stuffed animal more special than a carnival stuffed animal is the fact that you can pick out the fabric yourself-which means your stuffed animal will be much softer and more cuddly!
What You Will Need:
• Buttons (for eyes and nose)
• Chalk (for fabric)
• Fabric (at least one yard)
• Needle
• Pins
• Scissors
• Stuffing
• Thread (match it to your fabric)
Step 1: Choose your fabric. You probably want some soft, maybe even fluffy for your stuffed animal. Make sure you have at least one yard, though the bigger the stuffed animal you plan on making, the more fabric you will need.
Step 2: Draw a pattern. Stick to the basics and outline arms, legs, belly, head, and maybe some ears. If do not want to draw your own pattern, you can download patterns for free at All Crafts. However, if you want a specialty-sized stuffed animal, then you will probably want to draw your own pattern. When you do draw your pattern, make sure to fold your fabric in half, with the design facing inwards (this is called the WRONG side), and use your sewing chalk to draw your pattern on one side of the fabric.
Step 3: Pin your fabric together, and make sure your pins are about one inch apart. This will help you make sure both sides of your stuffed animal will be even. Now, cut your pattern out of your fabric, with an extra ½ inch of fabric around the edges (outside the chalk lines) so that you have room to sew the fabric together without accidentally making your stuffed animal smaller.
Step 4: Slowly sew your fabric together, wrong side out, using a sewing machine. Sewing slowly will help you not make mistakes when sewing together your stuffed animal. If you do not have a sewing machine, you can sew by hand, but just make sure your stitches are close together. Also, make sure to leave a one-to-two inch hole in your stuffed animal so that you can stuff it later.
Step 5: Stuff your stuffed animal. You can find stuffing for your animal at craft stores, and you can use the same stuffing meant for pillows or quilts. You can also look online for fiberfill or cotton batting. Before you stuff your stuffed animal, turn your fabric outside in, so that the fabric is right side out. Then, put the stuffing in your stuffed animal through the hole you left in the fabric. The easiest way is to stuff the legs, arms, and ears first, and then stuff the rest of the body. You can choose how much stuffing to add, but you may want to fill it with more stuffing than you think you need just in case. Once you are done stuffing your stuffed animal, sew up the hole with a needle and thread.
Step 6: Add buttons for the ears and nose. But before you sew on your stuffed animals face, you may want to play around with where you place the buttons and use pins to hold them in place. If you want more realistic eyes, Suncatcher Craft Eyes ship worldwide.
Step 7: Use embroidery thread and add eyebrows, a mouth, and any other details you want, such as eyelashes. And, voila! You have your very own stuffed animal!