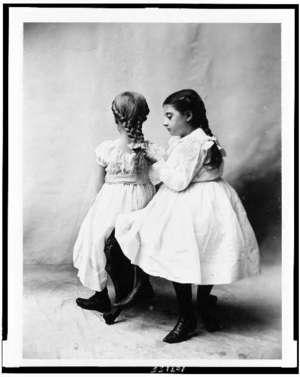
Ooo-La-La! What a sleek and sophisticated look!
If you have long hair, then you have probably experimented with braiding before. French braids are actually much easier to create on your own head than on another person.
French-braiding offers a lovely, tailored, sophisticated look for a woman with long, flowing locks. Even ladies with layered cuts can master this. It’s a great way to tame a wild mane for the office, tuck hair back for athletics, or even postpone shampooing for a day, if you must.
Before we begin, a few general pointers are in order.
French braiding is simplest with dry hair. Wet tresses are more difficult to maneuver. Freshly shampooed hair tends to be more slippery as well. If you must braid ultra-clean locks, try adding a bit of mousse or gel first.
If you are braiding your own hair, don’t bother using a mirror. Try to braid by feel. A mirror will only confuse the process. Of course, you can regard your reflection when you’re done!
A French braid is really quite similar to a traditional braid, with three-way plaiting. The only difference is how French braiding adds pieces to each tress as the braider moves down the hair shafts.
Braid as tightly as you comfortably can. Don’t try to make the braid too perfect. This is every beginning braider’s downfall. Besides, a soft and chunky braid can be quite lovely!
Step-by-step, here we go:
1. Comb all the tangles out of your hair.
2. Lay on your back, horizontally across a bed, with your hair hanging backwards off the side. (By doing so, you enlist the help of gravity. As you become more proficient at braiding, you will be able to do it while sitting or standing upright.)
3. Beginning at the crown, separate a section of hair on the top of your head. (The size of the section will determine the weight and thickness of your braid.)
4. Using your fingers, divide that section into three parts.
5. Fold the left section over into the center, while catching the center section underneath. (The center section becomes the left one.)
6. Now fold the right section over into the section, while catching the new center one underneath.
7. Before repeating this with the new left side, picking up a bit more hair into the tress. Then fold the left section over the center, while catching the center section underneath.
8. Do the same on the right, again picking up a bit more hair into the tress.
9. Continue all the way to the nape of your neck, at which point you will have caught up all of your locks.
10. Finish down the length of your hair, braiding the traditional way. Seal ends with a covered rubber band. Dab a bit of gel on any loose ends, unless you desire the casual, wispy look.
If the braid is too loose, it may not last. Practice until you can create a soft but sturdy braid. Before long, you will be able to execute this easily almost anywhere, even on a windy beach!
For a lovely formal style, you can tuck the ends up under the braid at the base of the neck and secure with hairpins.
Quelle jolie tresse vous avez! L’avez-vous cree vous-meme? (What a lovely braid you have! Did you create that yourself?)