Often in my hobby I have to restore gas tanks that are 50 or more years old. The alternative is to purchase a new tank, but when you are dealing with antiques that is not always possible. These tanks are covered on the outside with oil, dirt and rust. The inside of the tanks are often in worse condition, they have old fuel, sludge, oil, dirt, and rust in them. The task is complicated further by having to work in the confines of the inside of the tank. In my quest to save time and effort to simplify this I found a high tech solution that gets great results. (I have also used it successfully on other metal tanks that are not used to store fuel).
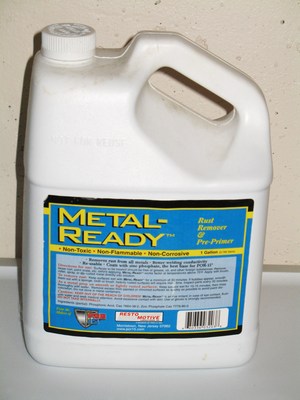
I start out by thoroughly rinsing the gas tank out with water, the let it thoroughly dry out. (This removes any old fuel that might still be in the tank). Ensure that all connections, petcocks, valves, or anything else that you do not want clogged are removed from the tank. Then tape over any holes with heavy tape. I pour a solution called “Metal-ready” made by a company named Resto Motive into the tank. This solution is a high tech mixture of phosphoric acid and zinc phosphate. Warning, always wear safety glasses and protective gloves while handling this product. I have never injured myself due to taking these precautions and I highly recommend following the manufacturer’s instructions when dealing with strong chemicals. I then secure the cap on the gas tank by taping over it with heavy tape. As per the instructions, it is important to expose the metal for at least 30 minutes. (I usually soak the tank for a period of 2 to 3 hours). I shake the tank every 15 minutes during the process. When complete, the inside of the tank comes out looking like new, showing nice, clean, bare metal. The zinc phosphate bonds itself to the bare metal. The zinc bonding is preparation for the next step.
I thoroughly wash out the gas tank with water and ensure it is completely dry before continuing. Here we will apply the protective coating. The name of this product is: “U.S. Standard Tank Sealer” (made by the same company – Resto Motive). This liquid counteracts with the first chemical. Again, please the product directions first before using. Pour the coating solution into the tank. (It has the consistency of a heavy oil). For a period of 30 minutes I rotate the tank slowly to get a nice uniform layer of coating throughout. When done, pour out the liquid. Ensure that all connections, petcocks, valves, or anything else that you do not want clogged are free of the solution because dries as hard as a rock! I let the tank sit in a ventilated, dry area for 96 hours to allow the coating to set well.
When done you have a very nice permanent tank lining that will be resistant to just about anything, especially rust. I like the results because this kind of protection is better then that of any new tank I have ever purchased.
Source List:
Metal-ready POR-15 Resto Motive
U.S. Standard Tank Sealer POR-15 Resto Motive